
I had never even heard of them until my sister-in-law told me about them.
She was pregnant and had asked if I could make her one.
Sure sure I said.
And off to the internet I went and found about a million different ways to make them.
And a million more boutiques that sell them.
Whew! I was overwhelmed.
So after getting the general idea, I decided I needed to to a trial run.
I just so happened to have a friend having a shower in a few days.
She was having a little boy, which didn't leave me a whole lot of options as far as accessories and trims and such. So I went with simple.
Here's what I did:
I started out by getting two one yard cuts of coordinating fabric, one yard of blue, one yard of green.
I laid them out, wrong sides together, and cut them down to about 36" x 30"

I then rounded the edges using a big bowl.
*Note to self*
when making a rounded edge, use a bowl that's hard.
That way the curve will be the same on all sides...
just sayin...

After getting the fabric cut, I decided that it was winter and maybe it would be a good idea to insulate it a little. Wyoming winds can be brutal. So I put a piece of polar fleece in between the two layers.
I then drew diagonal lines, two inches apart, across the whole thing and used my sewing machine to quilt along those lines. I then decided to do more lines in the other direction, which created a diamond pattern.


I sewed a decorative stitch around the edge, leaving about an inch and a half edge, which I cut and frayed, like a rag quilt.

I used the excess fabric that was cut off to make two reversible straps. I tried to figure out the best way to make them be reversible and decided on big buttons. So the straps I made had a buttonhole on each end.

I then got out my car seat and estimated about where I'd want the straps to sit, and sewed on the buttons on each side, so that it could be reversible.


Here's the finished product.


The next ones I made were different. Instead of being for a spring baby in Wyoming, they were for July babies in Salt Lake. A little bit of a temperature difference there. This called for a redesign of sorts. Now that I knew the basics and what I liked and disliked about my first one, the possibilities seemed endless.
I used lightweight fabrics this time and instead of making it so small, I made it basically the length and width of one yard of fabric. I cut about 6 inches off lengthwise to use for making straps.

I rounded the corners but this time I got smart and used a solid plate instead of a floppy plastic bowl. The corners ended up all even and beautiful.
I also learned that an even easier way of achieving this is to fold the fabric into quarters, so you only make one cut and they're all the same. Live and learn.

So once the corners are cut and everything is in line, I tried my hand at adding a super cute ruffle. Seeing as how it was for a baby girl, there were a lot of cutesy embellishments I wanted to add, but I figured I'd start small.

The fabric was right-sides together, so I slipped the trim in between the two and pinned it down.

Looking back, it would have been easier and perhaps faster to baste it onto the edge of one fabric first, just to make sure it was all secure, but this worked too.
Again, live and learn.

Lots and lots of pinning...


I overlapped the ends of the trim and luckily it blended really well.
I then sewed the two pieces of fabric, right sides together, and left a 16" opening between two corners for turning.

I then turned it right-side out and pressed it.

I added a decorative stitch along the outside edge to secure everything and make it look beautiful.

Once the edge was done, I ran a diagonal stitch from corner to corner, just to make sure the two sides didn't separate and get all weird.


It was important to me that these be reversible as well, but this time I decided to try velcro instead of buttons. I sewed it onto each side, about 12" from either side and about 16" from the top.

I then made some straps. I cut two pieces from each fabric that were about 3" x 9". I sewed one of each fabric, right sides together, and left a small section so I could turn them. I turned them and pressed them and top stitched around the edges, making sure to close all the seams.
I then sewed on the velcro and to make it work so the straps were reversible too, I sewed a piece on each end of each side. See what I mean?

It's kind of like a velcro sammich. 4 pieces of velcro, all lined up, plus the one already on the canopy itself. So 5 pieces of velcro per strap. Make sure you get the soft sides and scratchy sides all lined up how they need to be so they'll stick to each other.


And being for a girl, I had to add some fun accessories. So I made some flowers and added both a safety pin and hair clip on the back, so they could be either pinned on the canopy or used on a headband.

This one was made exactly the same, except for a baby boy. His mama is super classy and contemporary, and this fabric seemed to call out to me...even if it has flowers on it.
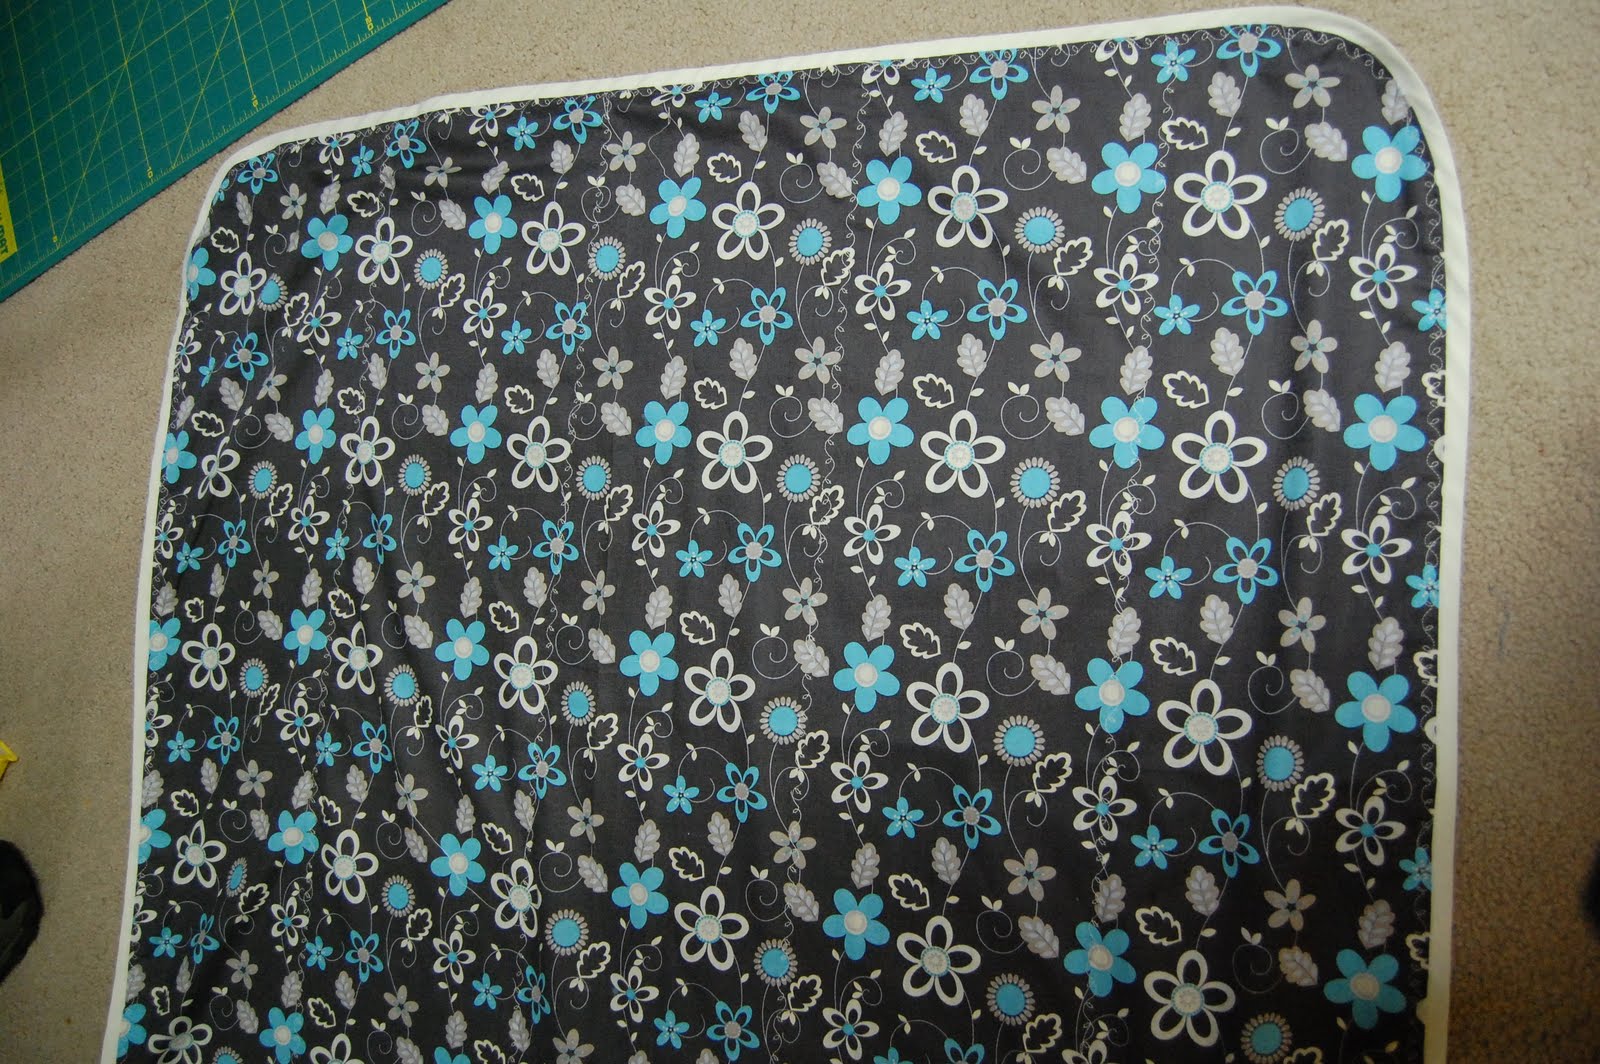
Instead of a ruffle trim I just used double fold bias tape, which looked really awesome. It added just enough without sissifying it.


When I topstitched it, instead of going corned to corner, I went down the middle, in a sort of cross. It looked nice as well, and went along with the stripes.


The next one I made was done in the same fashion. I made it for a friend of my husband's, who had just had their first boy after 3 girls. So it had to be especially boyish fabric. I adore this fabric so very much! It was perfect.

I used single fold bias tape as a trim and it turned out great. I did baste it right onto the fabric before sewing both sides together and it worked out marvelously.


The straps were a little different on this one. Instead of making two straps and having them be reversible, I made four straps and attached them permanently to each side.

I added a button and buttonhole to each strap and then sewed the two straps themselves onto either side, making sure to sew them in the same place on either side.

The final one I made was, of course, for my own baby girl. I had a really hard time picking out the perfect fabric for her, but I really adore how it came out.

The only changes I made were adding ric-rack as a border.
I found a great tutorial here on how to sew the ric-rack on and it worked perfectly!

I did the straps the same as the robot one, except I used velcro instead of buttons.

And of course, I had to make some flowers to accessorize, although bows would have been super cute as well.

These are fun little projects that seriously can be whipped up in an afternoon. They make amazing gifts and are so easily personalized. The accessories and embellishments have endless possibilities. So have fun and use your imagination! I've seen so so many of these around and on the internet and it's so fun to see all the different ways they can be made.
4 comments:
super cute canopies!!
OMG you are so crafty, its scary!! SO CUTE!!!!
Those would have been so helpful for me and they're so cute!
well aren't you just a snazzy sewer! Very cute. Now, if I only had a baby to use it with...
Post a Comment